Installing Docker on Debian
Published on 9 min read
Updated on
In this series40 min read in total
Docker runs an application in an isolated environment, with its own libraries and its own files, but on the host machine’s kernel. That last point is the whole difference with a virtual machine: no second operating system to boot, hence a container that starts in one second and weighs a few dozen megabytes.
| Virtual machine | Container | |
|---|---|---|
| Kernel | its own, complete | the host’s, shared |
| Startup | tens of seconds | under a second |
| Disk footprint | several gigabytes | tens of megabytes |
| Isolation | hardware-level, very strong | through kernel namespaces |
Step 1: install Docker from the official repository
Debian does ship a docker.io package in its repositories, but it often trails several versions behind and does not provide the modern plugins. The official Docker repository takes four more steps and yields an up-to-date, complete installation.
Install the prerequisites
Terminal window sudo apt update && sudo apt install ca-certificates curlca-certificatesprovides the certificate authorities needed to validate the repository’s HTTPS,curldownloads the key.Fetch the signing key
Terminal window sudo install -m 0755 -d /etc/apt/keyringssudo curl -fsSL https://download.docker.com/linux/debian/gpg -o /etc/apt/keyrings/docker.ascsudo chmod a+r /etc/apt/keyrings/docker.ascDeclare the repository
Terminal window echo \"deb [arch=$(dpkg --print-architecture) signed-by=/etc/apt/keyrings/docker.asc] https://download.docker.com/linux/debian \$(. /etc/os-release && echo "$VERSION_CODENAME") stable" | \sudo tee /etc/apt/sources.list.d/docker.list > /dev/nullThe two substitutions make the line portable:
dpkg --print-architecturereturns the machine architecture (amd64,arm64), andVERSION_CODENAMEthe Debian release name (bookworm,trixie). You can copy this block as is onto any machine.Install the packages
Terminal window sudo apt update && sudo apt install docker-ce docker-ce-cli containerd.io docker-buildx-plugin docker-compose-pluginPackage Role docker-cethe daemon, which runs the containers docker-ce-clithe dockercommand you typecontainerd.iothe low-level runtime used by the daemon docker-buildx-pluginimage building, including multi-architecture docker-compose-pluginthe docker composecommand, to describe several containers in one fileCheck that the service runs
Terminal window sudo systemctl enable --now dockersudo systemctl status dockerenable --nowstarts the service and schedules it at boot, which avoids finding out after a reboot that the containers never came back.Validate the installation
Terminal window sudo docker run hello-worldsudo docker run hello-world Hello from Docker!This message shows that your installation appears to be working correctly.To generate this message, Docker took the following steps:1. The Docker client contacted the Docker daemon.2. The Docker daemon pulled the "hello-world" image from the Docker Hub.(amd64)3. The Docker daemon created a new container from that image which runs theexecutable that produces the output you are currently reading.4. The Docker daemon streamed that output to the Docker client, which sent itto your terminal.To try something more ambitious, you can run an Ubuntu container with:$ docker run -it ubuntu bashShare images, automate workflows, and more with a free Docker ID:https://hub.docker.com/For more examples and ideas, visit:https://docs.docker.com/get-started/That message is not a plain “it works”: it describes exactly the chain Docker just walked, from client to daemon, daemon to registry, then registry to container. Seeing it means the four installed components talk to each other correctly.
Typing sudo in front of every command quickly gets tiresome. It can be fixed, provided you measure what it entails.
Step 2: use Docker without sudo
sudo usermod -aG docker $USERnewgrp dockerThe first line adds your account to the docker group, the second applies the change to the current session without having to log out.
Once the group is in place, the command works directly:
docker run hello-worldNow on to a container that provides a real service.
Step 3: run a useful container
As an example, we will run an Apache web server.
docker run -d --name docker-apache -v /var/www/:/usr/local/apache2/htdocs/ -p 3000:80 httpdBreaking down each part:
| Option | Role |
|---|---|
docker run | creates and starts a container, downloading the image if absent |
-d | detached mode, the container runs in the background and gives the prompt back |
--name docker-apache | names the container, otherwise Docker generates a random name |
-v /var/www/:/usr/local/apache2/htdocs/ | mounts a host folder inside the container, host_path:container_path |
-p 3000:80 | publishes a port, host_port:container_port |
httpd | the image name, here Apache, replaceable with nginx |
The site is then reachable at http://MACHINE_IP:3000, and its content is changed simply by editing /var/www on the host.
Day-to-day container handling
A handful of commands covers most of the operational work.
| Command | What it does |
|---|---|
docker ps | lists running containers |
docker ps -a | lists every container, stopped ones included |
docker logs -f docker-apache | shows and follows the container output |
docker exec -it docker-apache bash | opens a shell inside the container |
docker stop docker-apache | stops the container cleanly |
docker start docker-apache | restarts it with the same configuration |
docker rm docker-apache | deletes it, it must be stopped first |
docker images | lists downloaded images |
docker system df | shows the disk space Docker occupies |
The Docker Hub
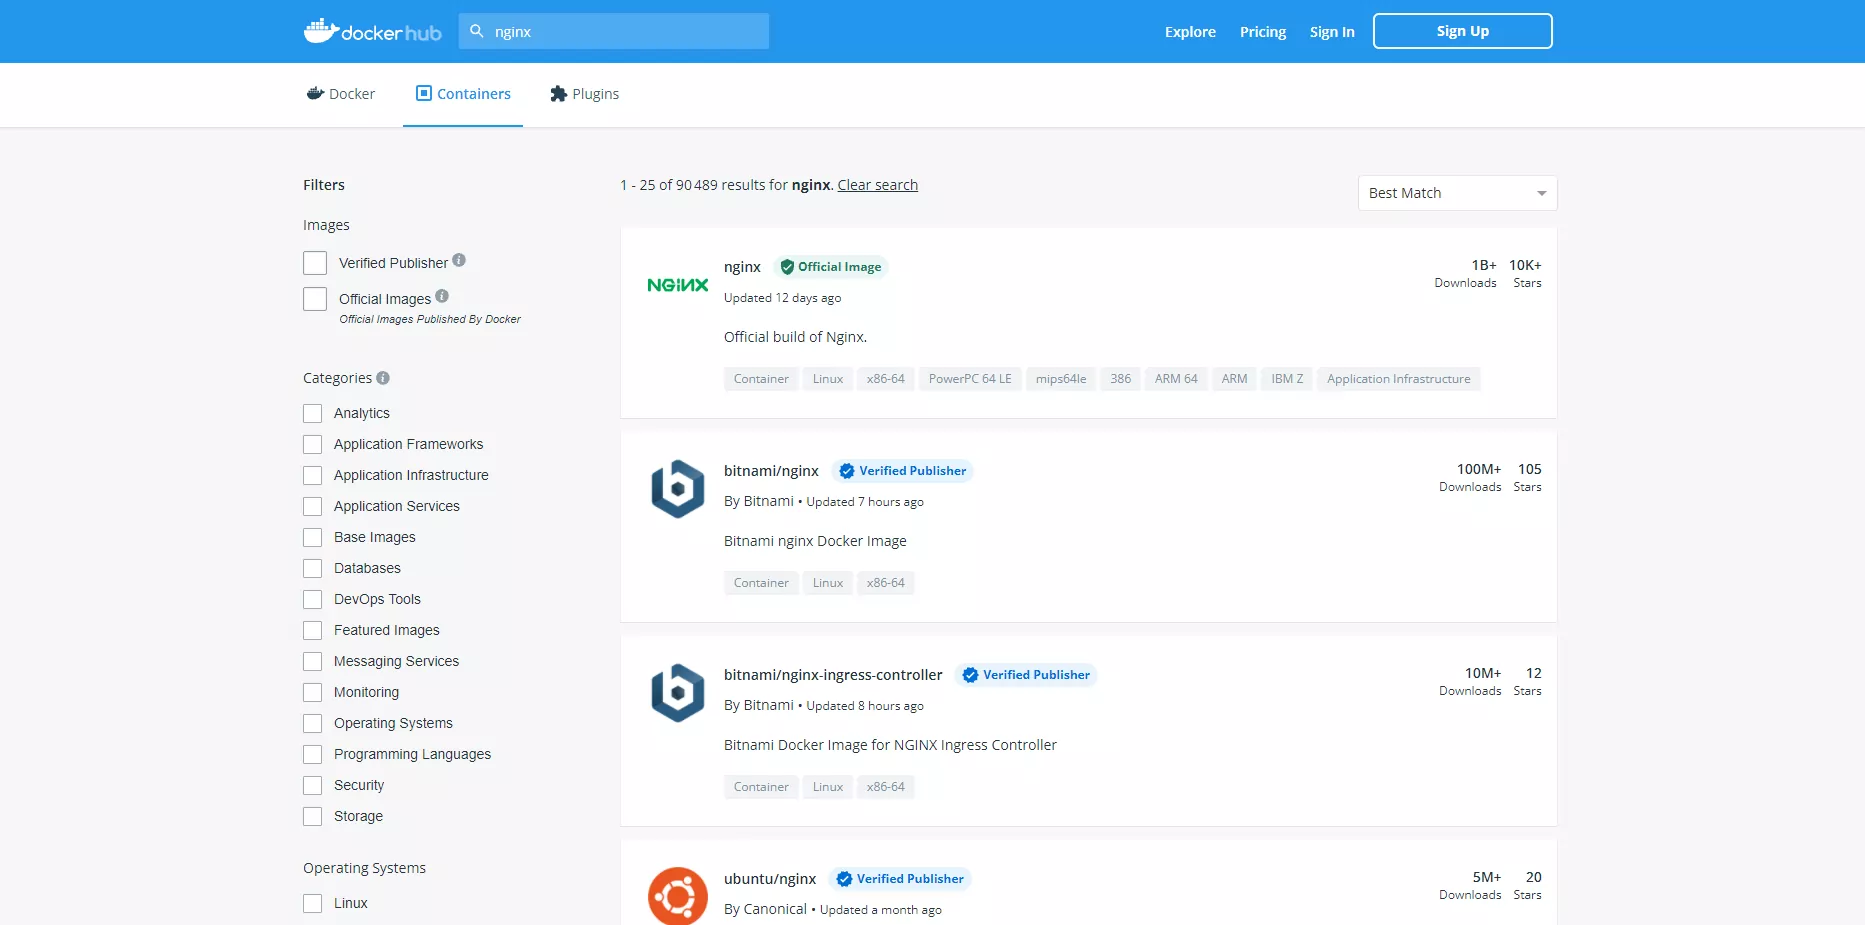
The Docker Hub is the public image registry, the equivalent of an app store. It holds official images, community-published ones, and above all the documentation for each of them.
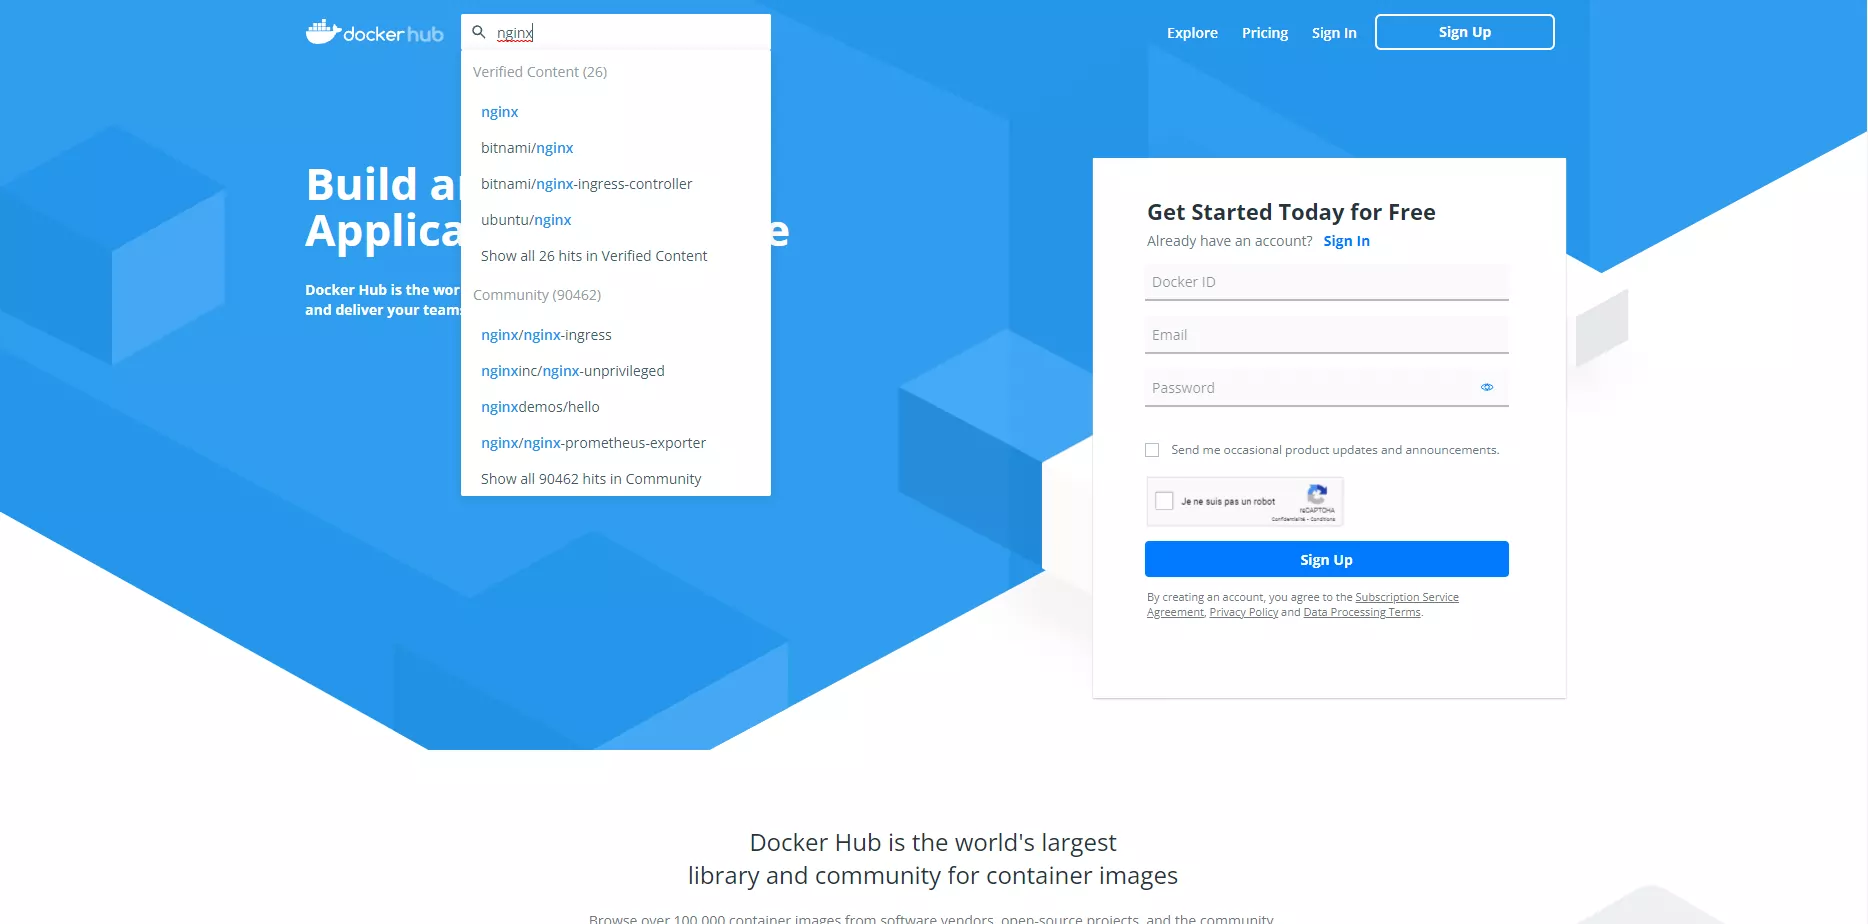
Every image exposes its versions as tags, along with the available base variants.
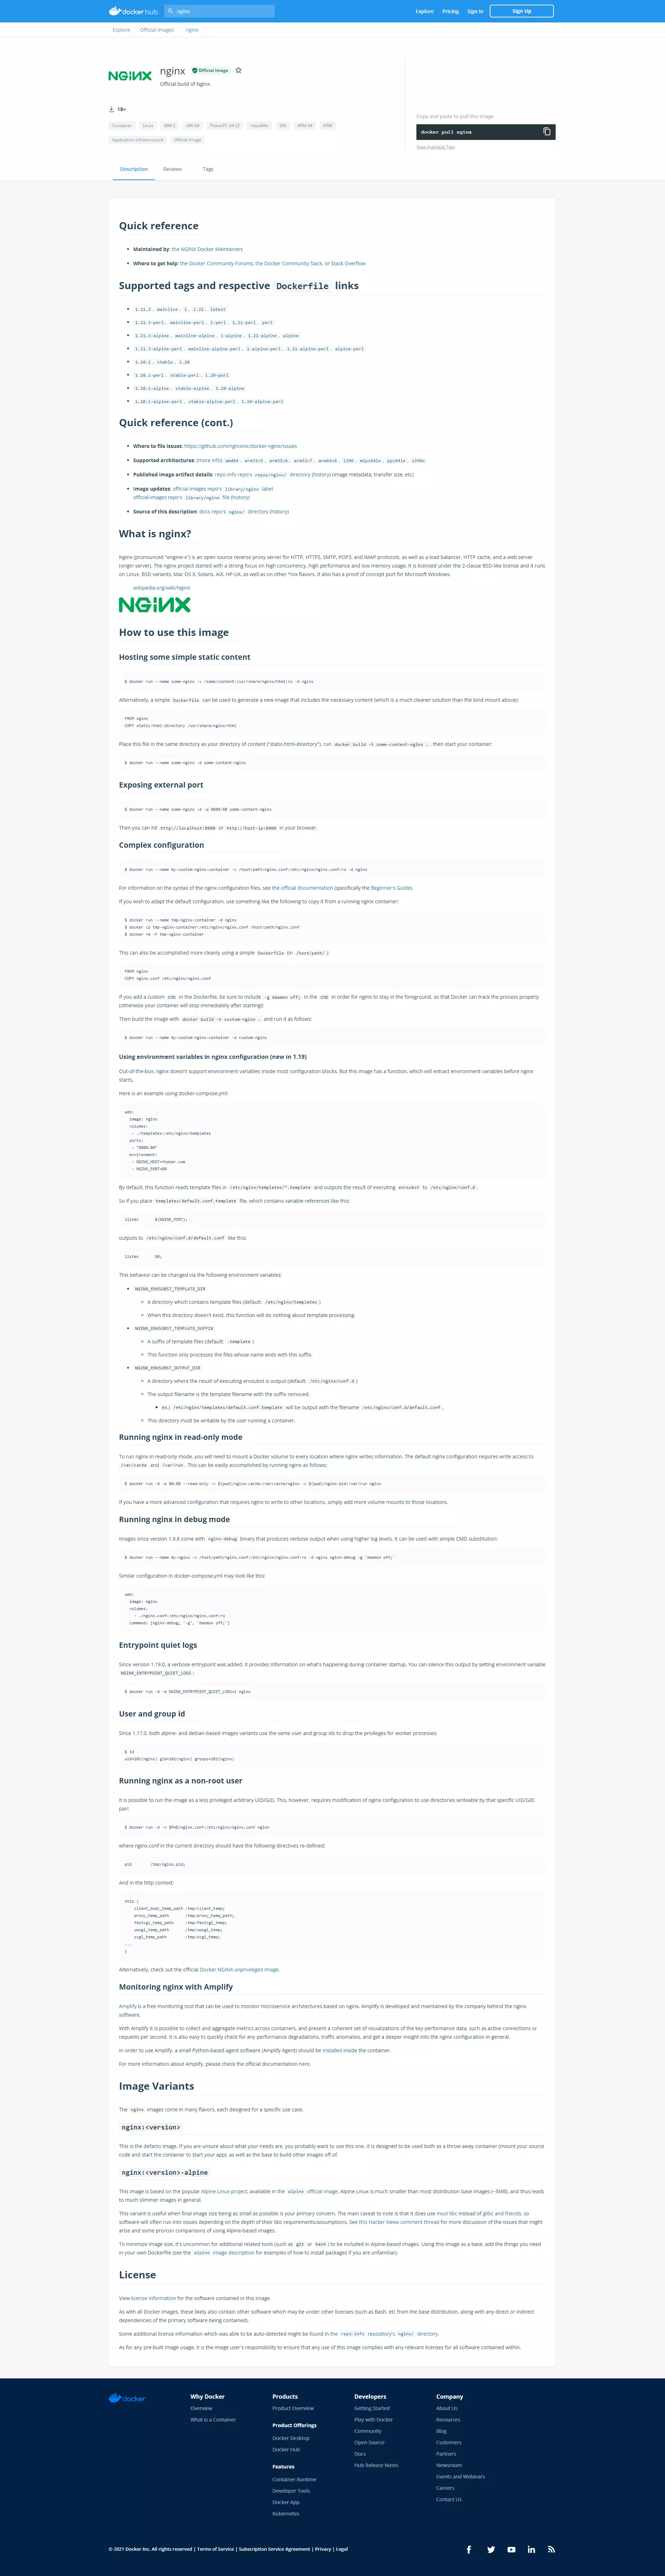
An image’s documentation states which paths to mount as volumes, which ports are exposed and which environment variables are expected. It is the first thing to read before putting a docker run command together.
The installation works and you can drive a container. The following articles in the series build on that base to host real services.